 English
 Español
 عربى
Our Modular GRC System merges installation speed with long-term durability, providing a high-perform...
READ MOREOct 16, 2026
Content
A loading yard outside a food plant floods every heavy rain. Water sheets across the apron, pools against the roller shutter and sits in a film beside the electrical cabinet. The channel is not the problem. The load class was guessed, resin concrete went into a bay that sees container handlers, and the outlet was chosen in the last week of the project, after the paving had already been laid.
Three decisions carry almost all of the risk when you specify a linear drainage channel system: the load class the channel must survive in its installed state, the material that suits both the traffic and the water chemistry, and the hydraulic design of fall, inlet and outlet. Everything else is detailing. Good detailing protects a good decision; it cannot rescue a bad one.
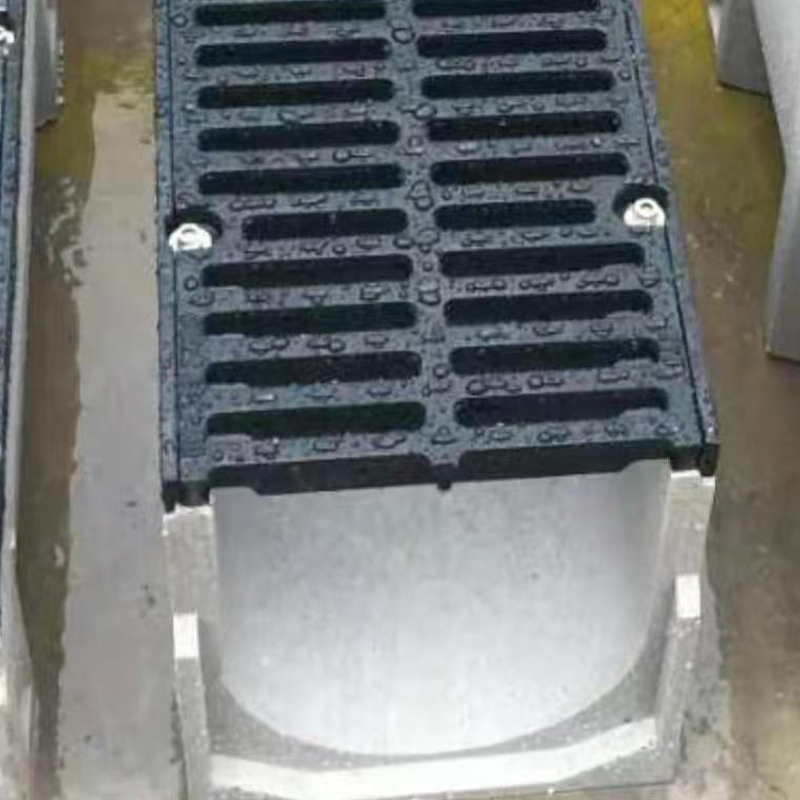
A complete run is more than a trench. It is a channel body, a grate or cover, a locking system, end caps, an outlet to a legal discharge point, and the concrete surround that ties the assembly into the pavement. Most failures happen at those interfaces, which is why the specification has to be written as a system rather than as a shopping list. Our linear drainage channel range is organised by body material and structure type for exactly that reason.
A linear system collects water along a continuous line instead of at a single low point. It takes surface water off the whole length of a paved area, it can sit where the falls already send the water, and it leaves the surface uninterrupted for wheels and feet. The trade-off is more joints, more cover length and more places where the specification can drift. Six parts do the work:
Most defects appear between these parts: a grate that moves in its frame, a joint that opens after settlement, an outlet smaller than the run feeding it.
EN 1433 sorts channel systems into six classes by test load. The class describes the whole installed assembly, body, grate, frame and surround together, rather than the strength of the steel on its own.
| Load class | Test load | Typical location | Risk if it is set too low |
|---|---|---|---|
| A15 | 15 kN | Footways, green belts, cycle paths, private gardens | Covers flex and crack the first time a delivery van crosses the paving |
| B125 | 125 kN | Car parks, driveways, footways with occasional vehicle overrun | Grates deform at the corners and locking bolts work loose |
| C250 | 250 kN | Kerbside channels and gutters beside public roads | The frame settles against the kerb line and opens a gap for water |
| D400 | 400 kN | Carriageways, bus lanes, hard shoulders, industrial yards | Permanent deformation, cracked surround, water tracking under the paving |
| E600 | 600 kN | Docks, heavy industrial areas, light aircraft pavements | The body or frame fails before the cover does |
| F900 | 900 kN | Aircraft pavements, container handling areas, dock aprons | Collapse under point load, with a serious safety consequence |
Two habits separate a specification that works from one that does not. The first is choosing the class from the heaviest single vehicle that will ever cross the line rather than from the daily average; a fire appliance or a mobile crane counts. The second is treating the surround as part of the class.
Material decides two things no installation technique can fix: how the channel behaves when the wrong load arrives, and how long it survives the water flowing through it.
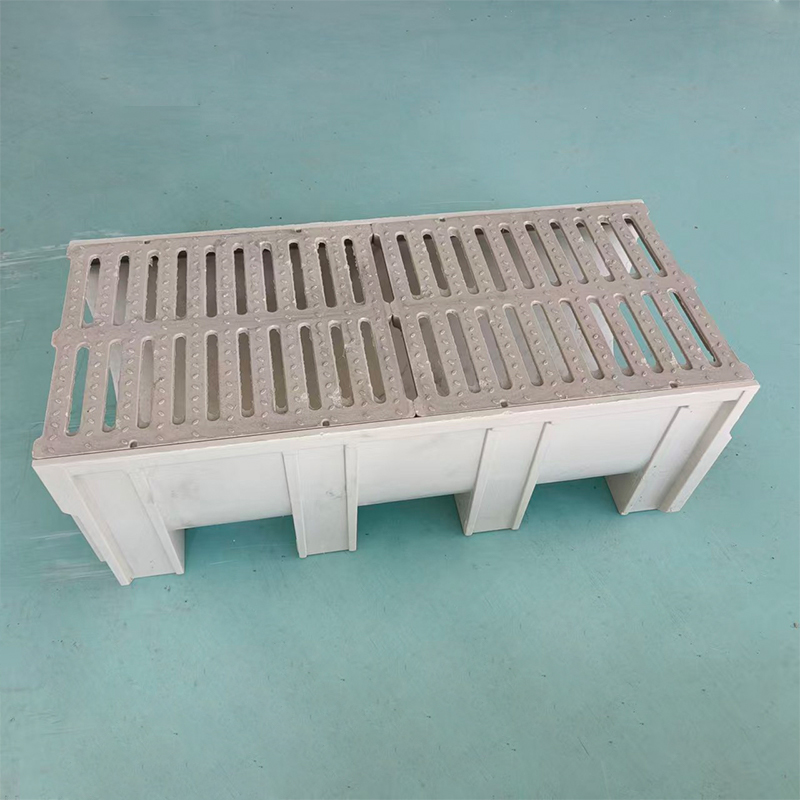
Polymer concrete bodies are moulded to tight tolerances, are far lighter than cast concrete, and handle a wide pH range, which is why they dominate municipal and commercial work up to D400. They are rigid and do not corrode, but they chip under impact, and some surfaces suffer from hot bitumen pours.
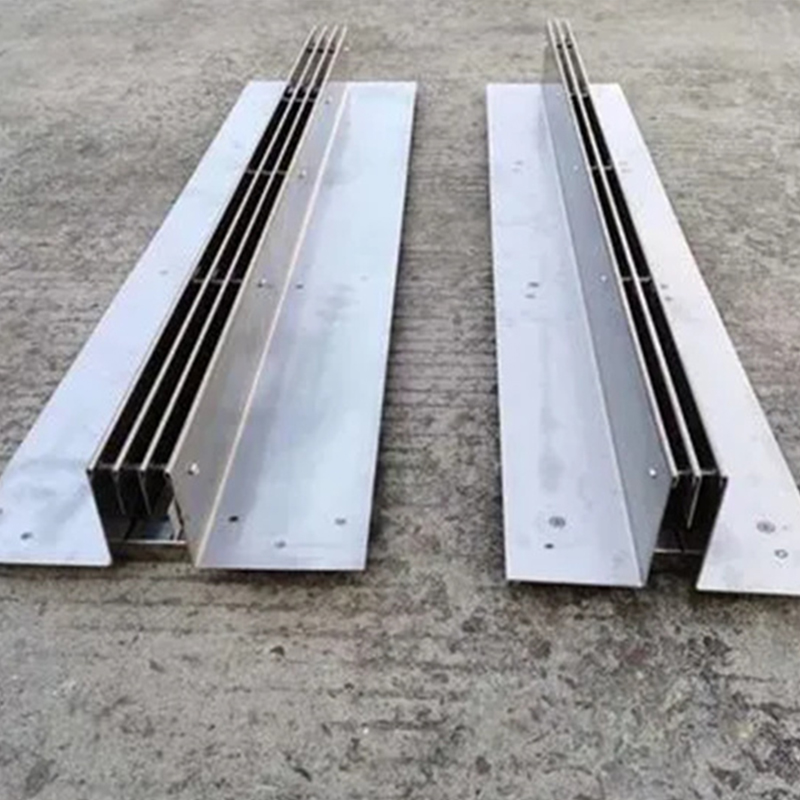
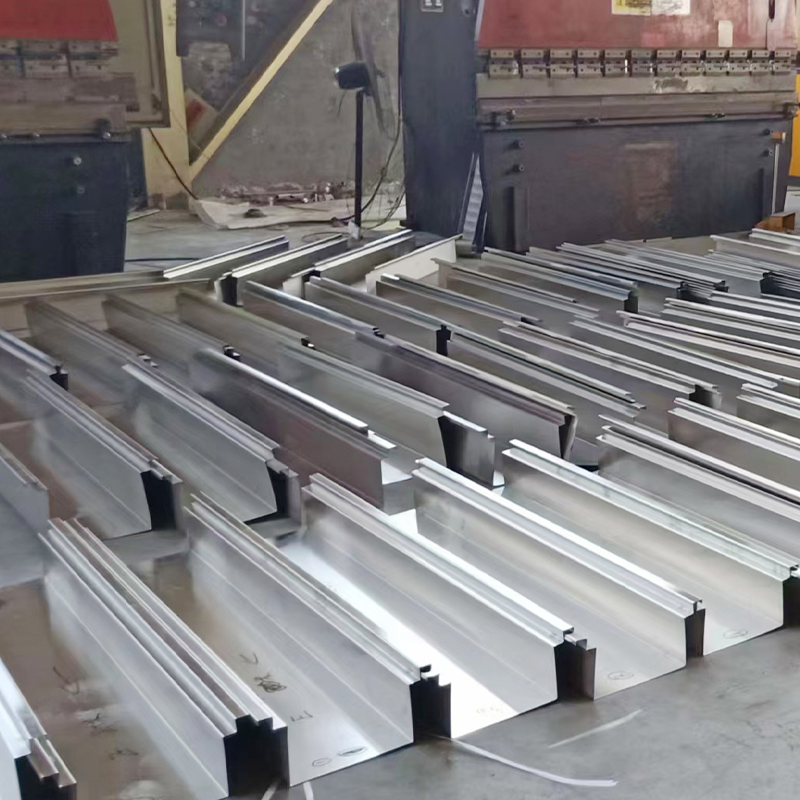
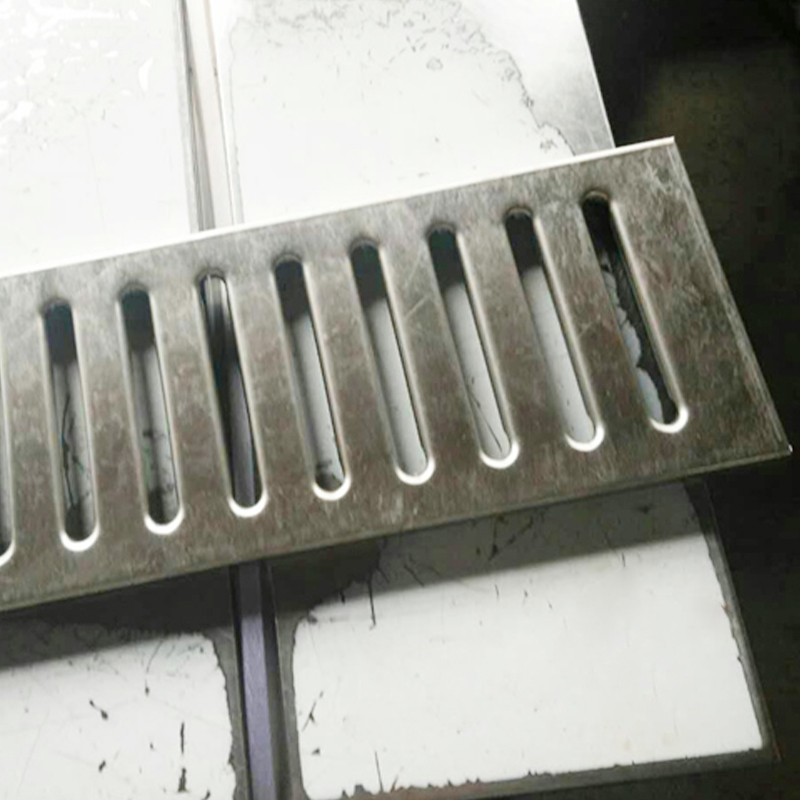
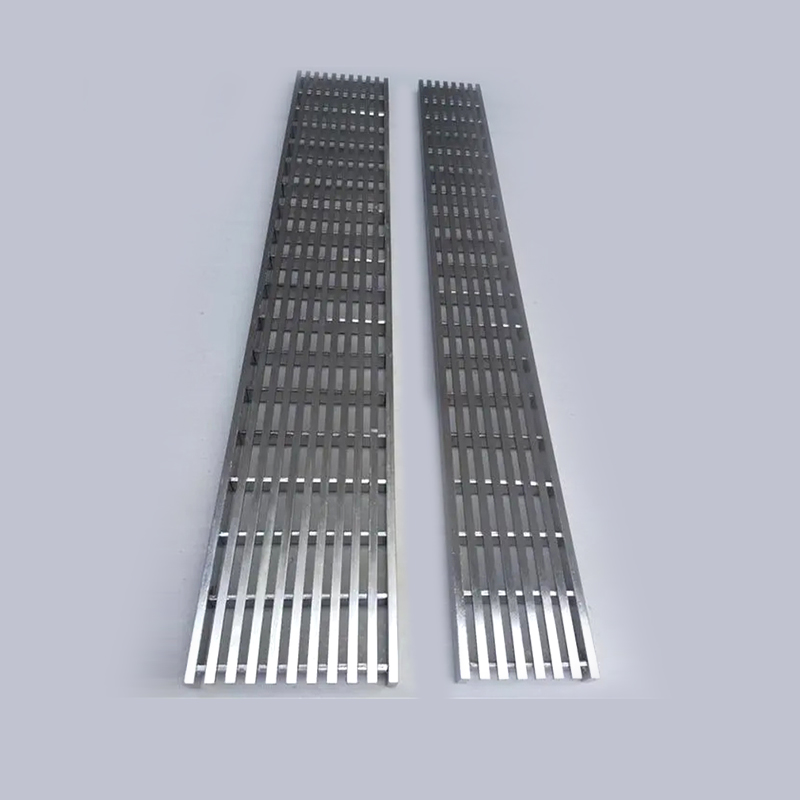
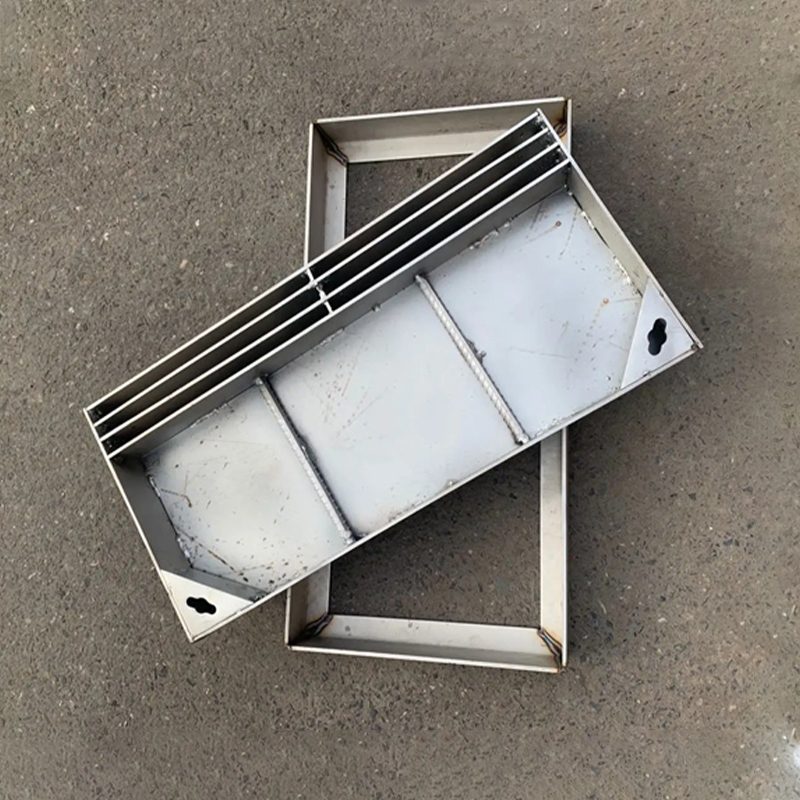
Stainless is chosen where appearance or hygiene matters: plaza slot drains, food production, pool surrounds, coastal promenades. Grade matters more than thickness. Type 304 is adequate inland; type 316 is the sensible default where chlorides are present, whether from sea spray, de-icing salt or process water. Silt left standing in any stainless channel will eventually leave its mark.
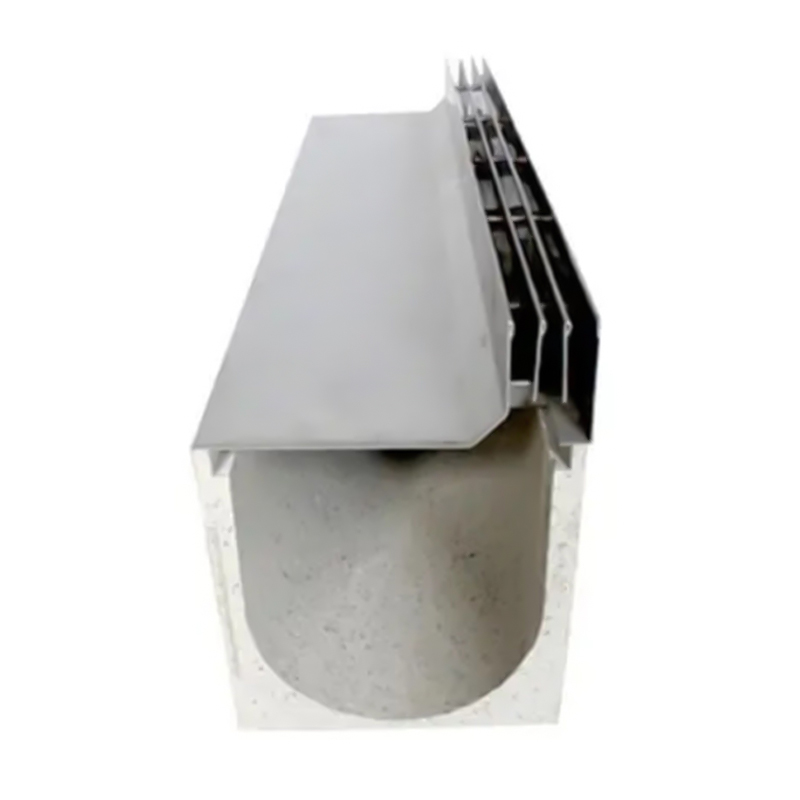
Ductile iron covers and bodies absorb the heaviest dynamic loads and are the normal answer for docks, container yards and airport pavements. Precast concrete is the economical choice for long municipal roadside runs, where installation speed matters more than tight tolerance.
A channel is only as durable as the worst thing that flows through it.
A channel that holds water has failed, whatever the drawing looks like. Three numbers decide whether a run drains: the longitudinal fall, the open inlet area of the grate, and the discharge capacity of the outlet.
For yards and roads, a design storm of ten to twenty-five years combined with the runoff coefficient of the surface is the usual basis. Check the result against site tolerances too: a generous fall on paper disappears quickly when the paving is laid ten millimetres out of level.
Channels are cast into one structure and paved against another, and the join between them is where complaints begin. A channel must sit on a continuous, well-compacted base inside a structural surround, with no voids under the body, brought up evenly on both sides so the line is not pushed out of place.
Level control is the second half of the job. Agree the finished level with the paving contractor before the first channel is laid, allow for the mortar bed and the paving thickness, and check the line with a straight edge across joints rather than a spirit level per unit. A two millimetre step between neighbouring covers is invisible on a drawing and very visible to a cyclist.
For the sequence in detail, including bedding, alignment and concreting, this step-by-step channel drain installation guide is a practical reference.
The same channel body behaves very differently in a car park and on a dock apron, so the application should drive the selection rather than the size list.
The purchase order is the last chance to close the gaps that drawings tend to leave open.
Linear drainage channel systems fail for predictable reasons, and almost all of them are decided before the first channel is laid. Choose the load class from the heaviest vehicle that will ever cross the line, and treat the concrete surround as part of that class. Choose the material from the water and the traffic, not from the price list. Size the fall, the inlet and the outlet early, while they can still be changed.
After that, the discipline is in the details: one agreed level, joints that line up, outlets that can be reached, and a cleaning interval that somebody owns. A run specified this way will still be doing its job when the paving around it is due for replacement.
Related Products
Our Modular GRC System merges installation speed with long-term durability, providing a high-perform...
READ MOREOur Modular GRC System merges installation speed with long-term durability, providing a high-perform...
READ MOREOur Modular GRC System merges installation speed with long-term durability, providing a high-perform...
READ MOREOur Modular GRC System merges installation speed with long-term durability, providing a high-perform...
READ MOREOur Modular GRC System merges installation speed with long-term durability, providing a high-perform...
READ MOREOur Modular GRC System merges installation speed with long-term durability, providing a high-perform...
READ MORE
Contact us
Factory Address
Group 12, Quanxin Village, Donghai Town, Qidong City, Nantong City, Jiangsu Province, China
phone
+86-13914963840
+86-13451754670
products
QR CODE
 Wholesale Drainage Ditch Manufacturers